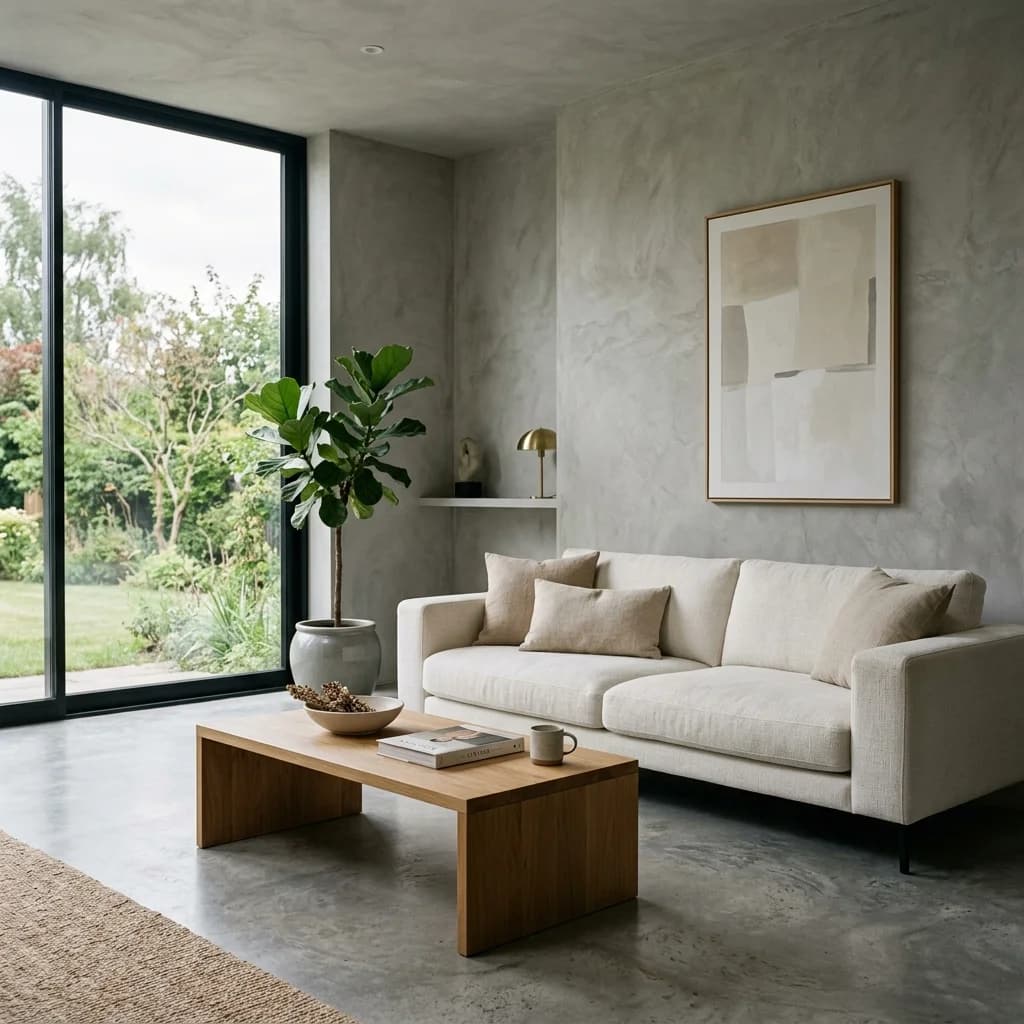
Microcement in Interior Design 2026: The Raw Truth from Field Experts
An honest breakdown of microcement for walls and floors. Exploring real pros & cons, actual costs per square meter in 2026, contractor tricks, and a quality control checklist.
Let's be honest: seamless floors and walls "under concrete" look incredibly cool. The aesthetic of minimalism, Japandi, and loft design remains at the top of the charts throughout 2026, and microcement is the absolute king of textures here. Designers from the AIA (American Institute of Architects) confirm: demand for seamless mineral coatings is up 40% compared to previous seasons. But why do some homeowners live happily with this finish for years, while others write angry forum posts about cracks and stubborn stains after just six months?
The reason is simple: microcement is not just a paste you slap out of a bucket; it is a highly complex, multi-layered chemical system. In this guide, we skip the dry theory and break down real-world usage, technical stats from ASTM and EN standards, actual pricing per square meter under a full contractor setup, and common contractor mistakes they will never tell you about.
What Exactly is It?
Microcement is a dry mixture of ultra-fine cement, fine quartz sand, and specialized liquid polymers (acrylic or polyurethane). Once applied, this system is sealed with two-component polyurethane varnishes.
The entire "sandwich" on a wall or floor measures just 2 to 3 millimeters thick. Yet, thanks to polymer modification, it is highly elastic and crack-resistant. Under the EN 13813 European mortar standard, premium microcements reach a flexural strength class of F6 to F10 (compared to a standard sand-cement screed which barely hits F4). This means that when the building settles, the microcement doesn't automatically crack under normal stress.
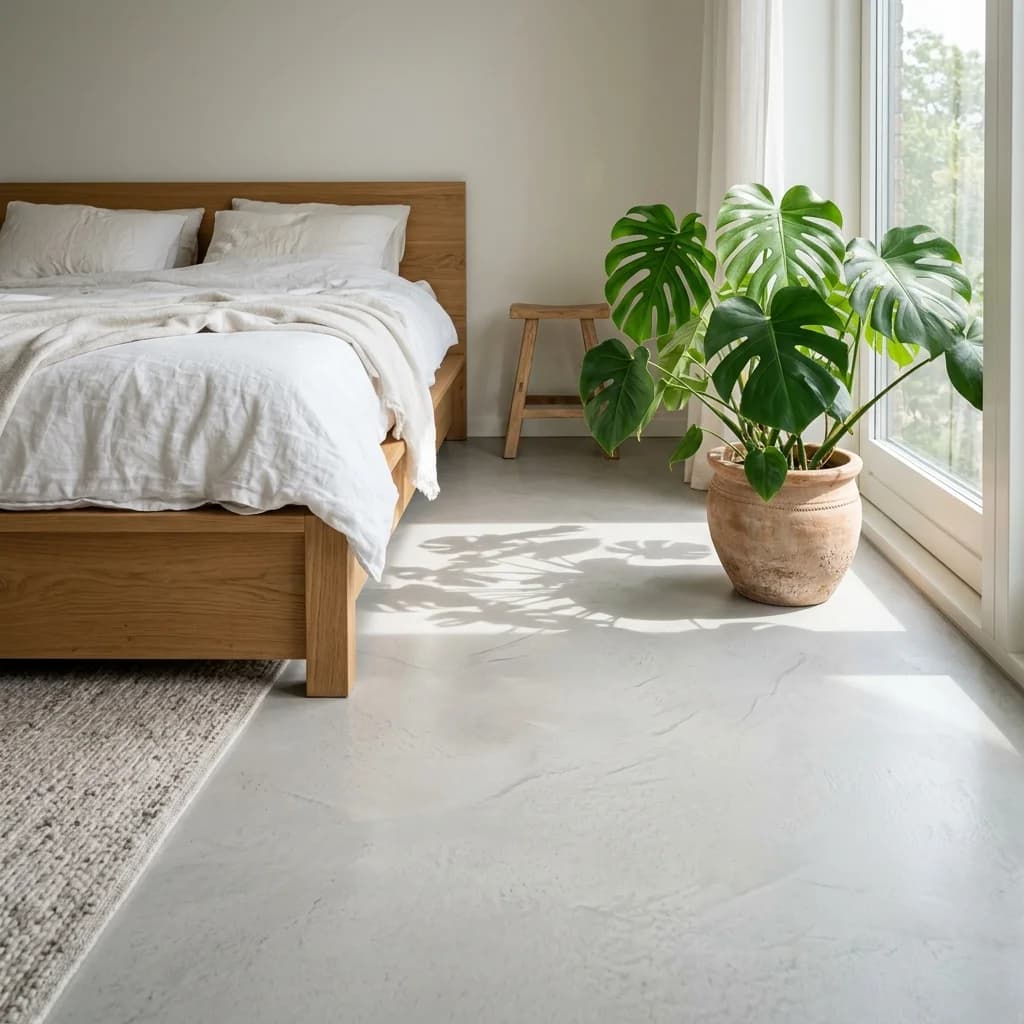
1. The Raw Pros and Major Cons of Microcement
Let's weigh the pros and cons without any marketing fluff.
The Pros:
- 100% Seamless. No grout lines, no dirt accumulation, and no darkening joints over time.
- Ultra-Thin. If you have already installed your doors and don't want to raise the floor level by 1.5–2 cm for tiles and adhesive, microcement is a lifesaver.
- Incredible Adhesion. It sticks to almost anything: concrete, drywall, old tiles, plaster, and even MDF.
- Warm & Tactile. Unlike cold porcelain tiles, a microcement floor feels warm and slightly textured, making it very comfortable to walk on barefoot.
- Healthy Air Quality. Once fully cured, premium microcement finished with water-based polyurethane sealers achieves a Class A+ rating under ISO 16000 (extremely low VOC emissions).
The Cons:
- Highly Dependent on Human Skill. Applying microcement is an art. If the applicator rushes drying times or fails to prepare the base, the coating will peel off or develop dark patches.
- Vulnerable to Sand and Sharp Objects. Under the Taber Abraser test (ASTM D4060), premium polyurethane sealers lose only 15–30 mg of material after 1000 cycles. However, a sharp stone trapped in a sneaker tread or dragging a heavy refrigerator will leave scratches.
- Tricky Patch Repairs. If you drop a heavy cast-iron skillet and chip the floor, patching the hole is possible, but matching the exact color and texture of the surrounding hand-troweled finish is nearly impossible. The patch will likely be slightly visible.
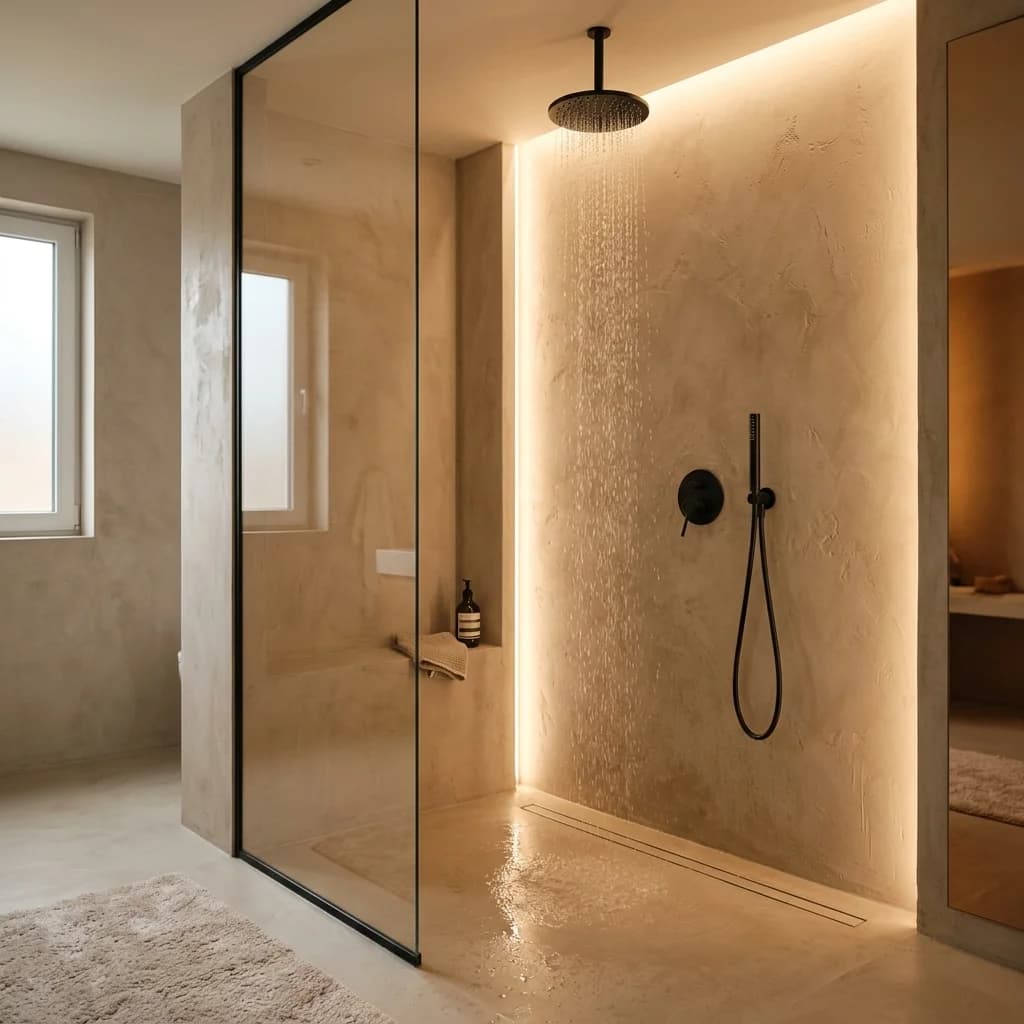
2. Wet Areas: Does Microcement Actually Hold Up in a Shower?
Short answer: yes, but only if the sealer is applied perfectly.
Raw cement absorbs water easily. Water protection relies entirely on the quality of the polyurethane sealer and the elastic polymer-cement waterproofing layer underneath.
Caution
The real enemy of microcement in a bathroom is standing water under pressure and moisture buildup in corner joints. Always use premium sanitary polyurethane sealants in the corners, and ensure a minimum 1.5–2% floor slope so water drains immediately.
3. Kitchen Countertops and Sinks: The Ultimate Durability Test
An integrated sink flowing seamlessly into the worktop looks spectacular. However, the kitchen environment is highly demanding.
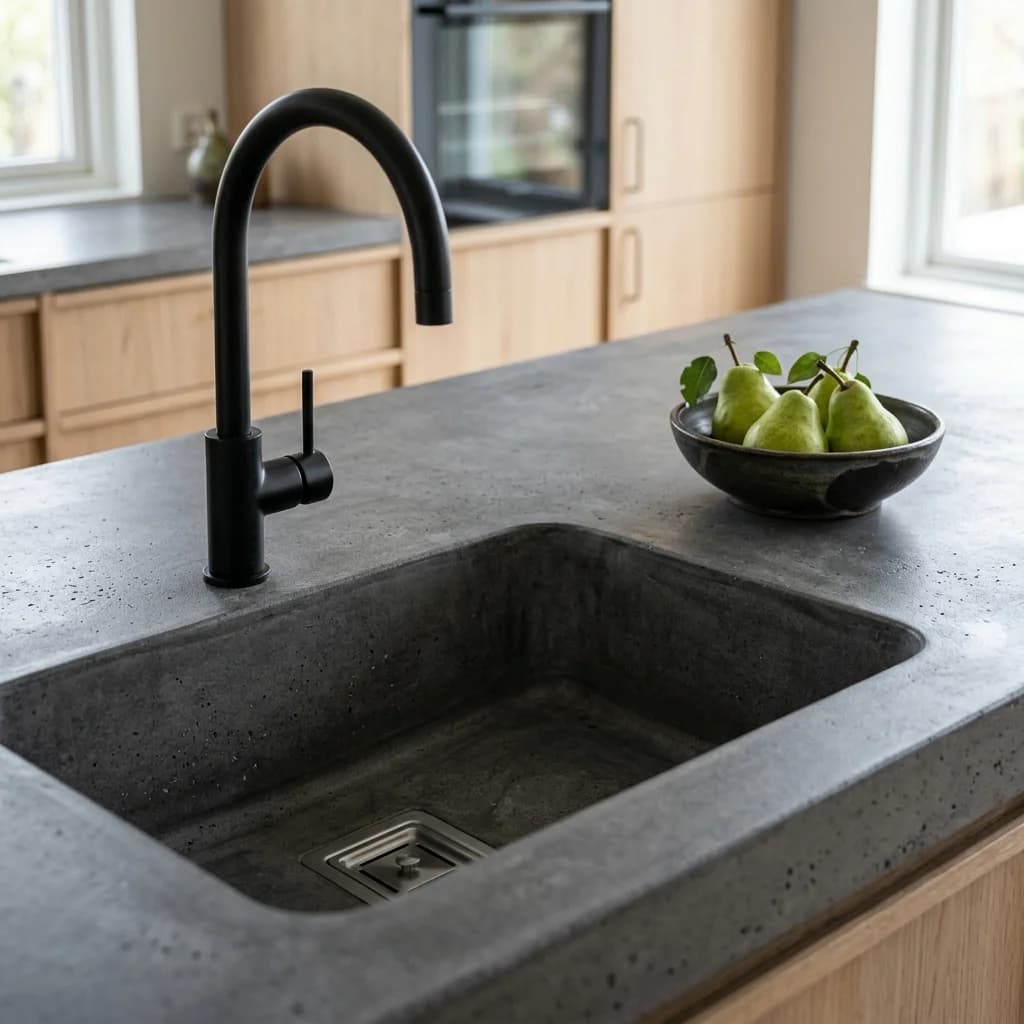
The 3 Golden Rules of Kitchen Microcement Survival:
- No Boiling Heat. Never place hot pots or pans directly from the stove onto microcement. The polyurethane sealer handles temperatures up to 70-80°C (158-176°F); anything hotter will cause it to cloud or melt.
- Acid is Poison. Wipe away lemon juice, vinegar, wine, and coffee spills immediately (within 20-30 minutes). If the sealer is scratched, acid will react with the calcium carbonate in the cement base, leaving a permanent dark spot.
- Always Use Cutting Boards. Slicing directly on the surface will slice the protective sealer open in a matter of weeks.
4. Architectural Details: Stairs and Textures
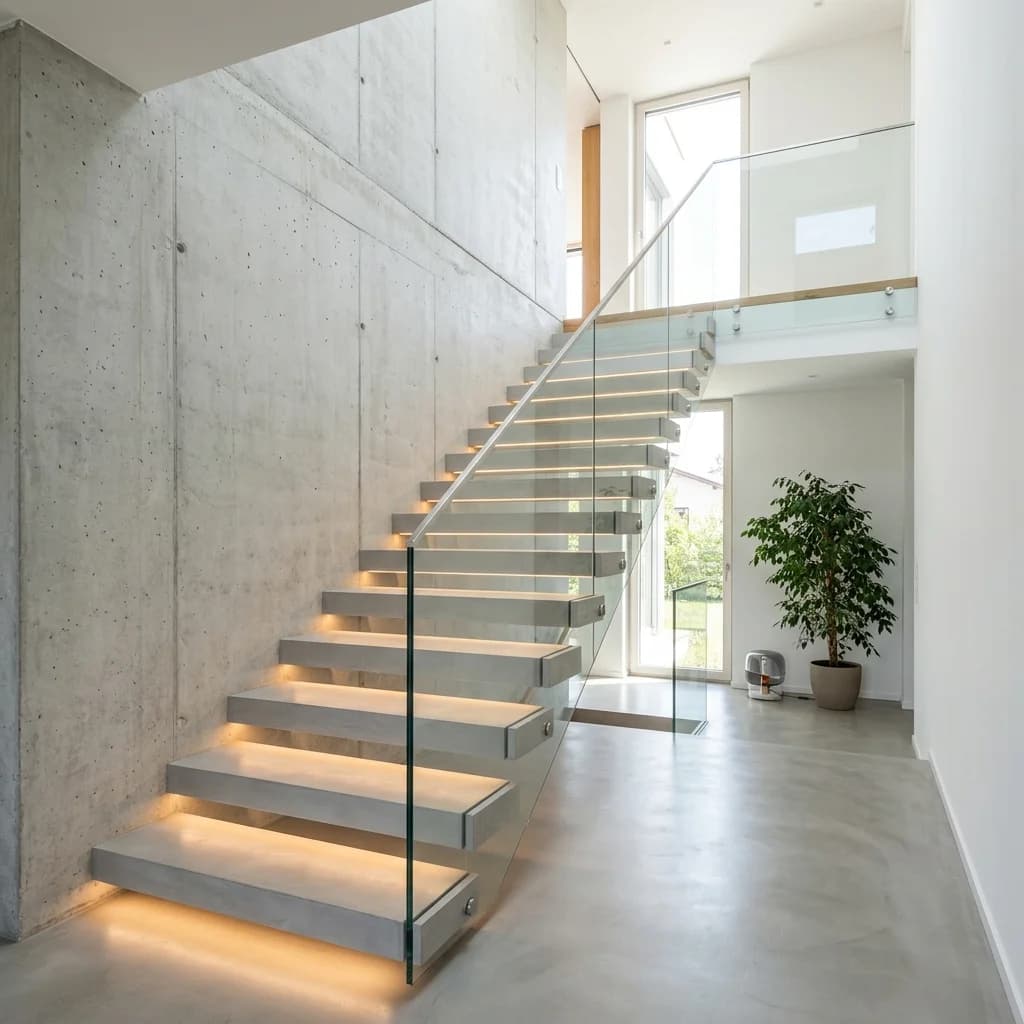
Microcement can wrap around complex structural shapes, such as floating cantilevered staircases, which would be extremely difficult to cover with tiles.
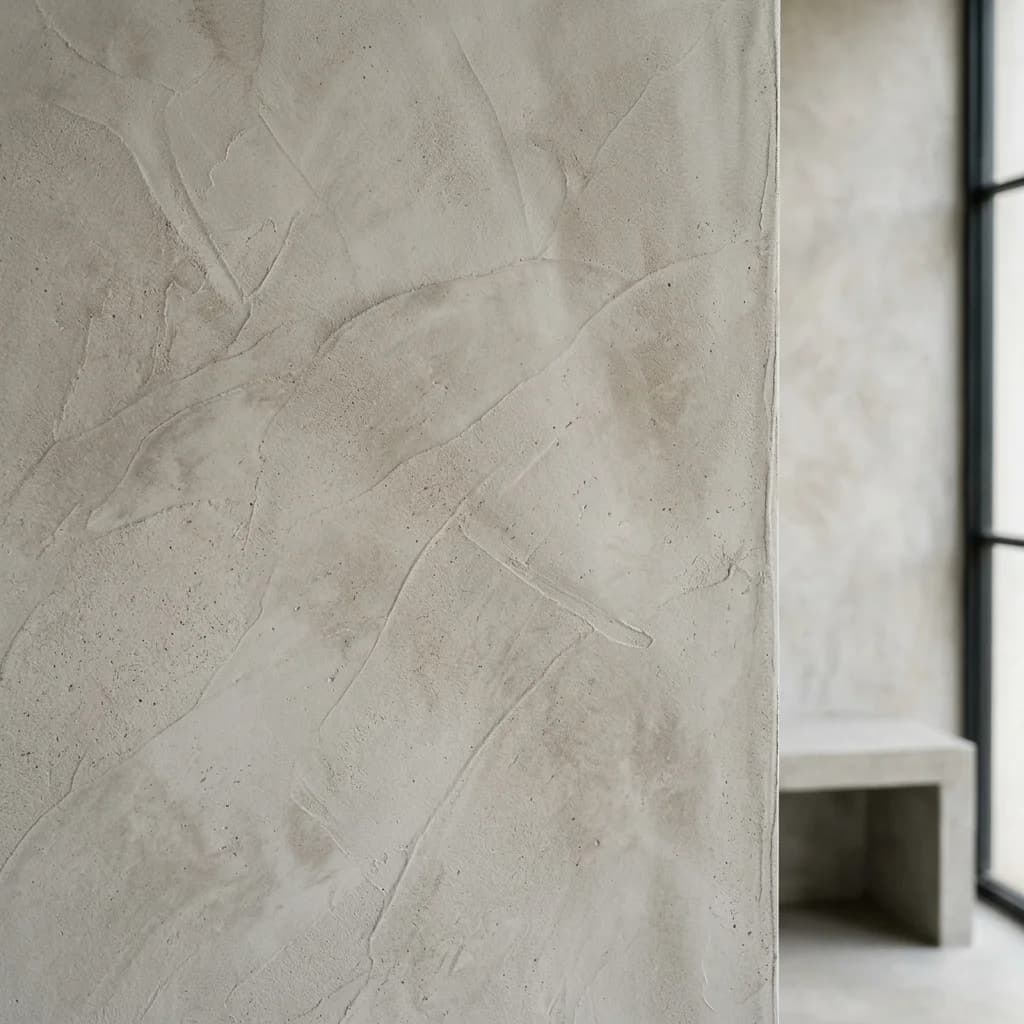
Due to the hand-applied trowel technique, each square meter carries a unique texture. Up close, you can see subtle movements, shade variations, and fine mineral details.
Comparing Microcement with Alternatives
To help you make the right choice, here is a quick comparison table:
Microcement vs Tiles vs Polyurethane Flooring
| Feature | Microcement | Porcelain Tiles | Polyurethane Floor |
|---|---|---|---|
| Thickness | 2-3 mm | 10-15 mm | 3-4 mm |
| Grout Lines / Joints | None (monolithic) | Every 60-120 cm | None (monolithic) |
| Substrate prep difficulty | Very High (needs zero-crack base) | Medium | High |
| Tactile feel | Warm, organic texture | Very cold | Synthetic, smooth |
| Local repairs | Possible (but patch is visible) | Complex (must break tile) | Very hard to blend smoothly |
| Average Lifespan | 10-15 years (refreshed sealer) | 30+ years | 15-20 years |
What Does Microcement Cost in 2026?
If a contractor quotes you $20–$30 per square meter, be very careful. This is either cheap exterior wall plaster masquerading as microcement, or a labor-only rate that excludes materials and floor preparation.
In 2026, the budget for a high-quality microcement application under a professional crew breaks down as follows:
- Material Kit (epoxy primer, quartz sand, fiberglass mesh, base coat, fine finish coat, pore sealer, two-component polyurethane varnish): $35 – $60 / sq.m.
- Application Labor (applying 5–6 layers with intermediate curing and sanding of each layer): $45 – $80 / sq.m.
- Substrate Prep (crack repair, leveling, grinding): $15 – $30 / sq.m.
Total cost under a professional setup: $95 to $170 per square meter.
Tip
Since microcement is applied similarly to decorative paint or tiles, you can estimate your total wall and floor area, and calculate consumption of base mixtures using our interactive tools. Check out our Paint Calculator or Tile Calculator to run a detailed area calculation for your rooms.
This matches the cost of installing high-end large-format porcelain tiles, but you get a custom monolithic design.
Handover Checklist for Homeowners
Do not accept the work from your crew with a quick glance. Use this professional checklist before signing the papers and paying the final invoice.
Microcement Inspection Checklist
FAQ: Debunking the Biggest Microcement Myths
Questions and Answers about Microcement
Summary
In 2026, microcement stands out as an excellent alternative to tiles and paint for anyone desiring a seamless, modern interior. Just remember: 80% of your success depends on the applicator's skill and the quality of the sealer chemistry. Do not cut corners on labor or base preparation, and your monolithic floors will look stunning for years.
Convert flooring into pack count
Start with the main calculator, then use the two tools that most naturally follow this article.
This piece is structured as a practical sequence of work, material choices, and decisions without extra steps.