Shadow Gaps and Micro-Baseboards: The Raw Truth About Floor-to-Wall Joints in 2026
An honest guide to choosing modern baseboards. Shadow profiles, concealed skirting boards, micro-baseboards, or classics? Prices, installation steps, and EPLF/DIN expansion gap rules.
Let's be real: standard plastic baseboards with those cheap corner caps and plugs that fly off the moment they are hit by a vacuum cleaner look like a relic from the nineties. In 2026, everyone wants minimalism — flush walls, "hovering" partitions, and clean architectural lines.
But when it comes to executing these designs, the headaches begin. The interior designer drafts a trendy wall with zero baseboard, while the contractor on-site rolls their eyes and says it's impossible because the laminate will expand and buckle.
In this article, we break down how to marry modern design trends with the laws of physics. You will learn everything about shadow profiles, concealed skirting, micro-baseboards, DIN and EPLF standards, and exactly how much this sleek look will set you back. Let's dive in!
Why Do We Even Need a Gap Between the Floor and the Wall?
If you are installing engineered wood, laminate, cork, or click-lock LVP (luxury vinyl plank), you are putting down a floating floor. Wood and polymers react to changes in temperature and humidity inside your home. The floor expands in summer and shrinks in winter.
According to the official guidelines of the EPLF, the minimum perimeter expansion gap must be:
- At least 8 to 10 mm for standard room sizes.
- If you ignore this rule, the locked floor will press against the wall, buckle at the joints, and fail.
Additionally, according to the German soundproofing standard DIN 4109, a floating floor must never have rigid contact with walls and partitions. If it does, impact noise from footsteps will transmit directly to your neighbors through the concrete slabs.
Therefore, covering this gap is non-negotiable. But how do we do it with style?
1. Concealed Skirting: Flush Walls Meeting the Floor
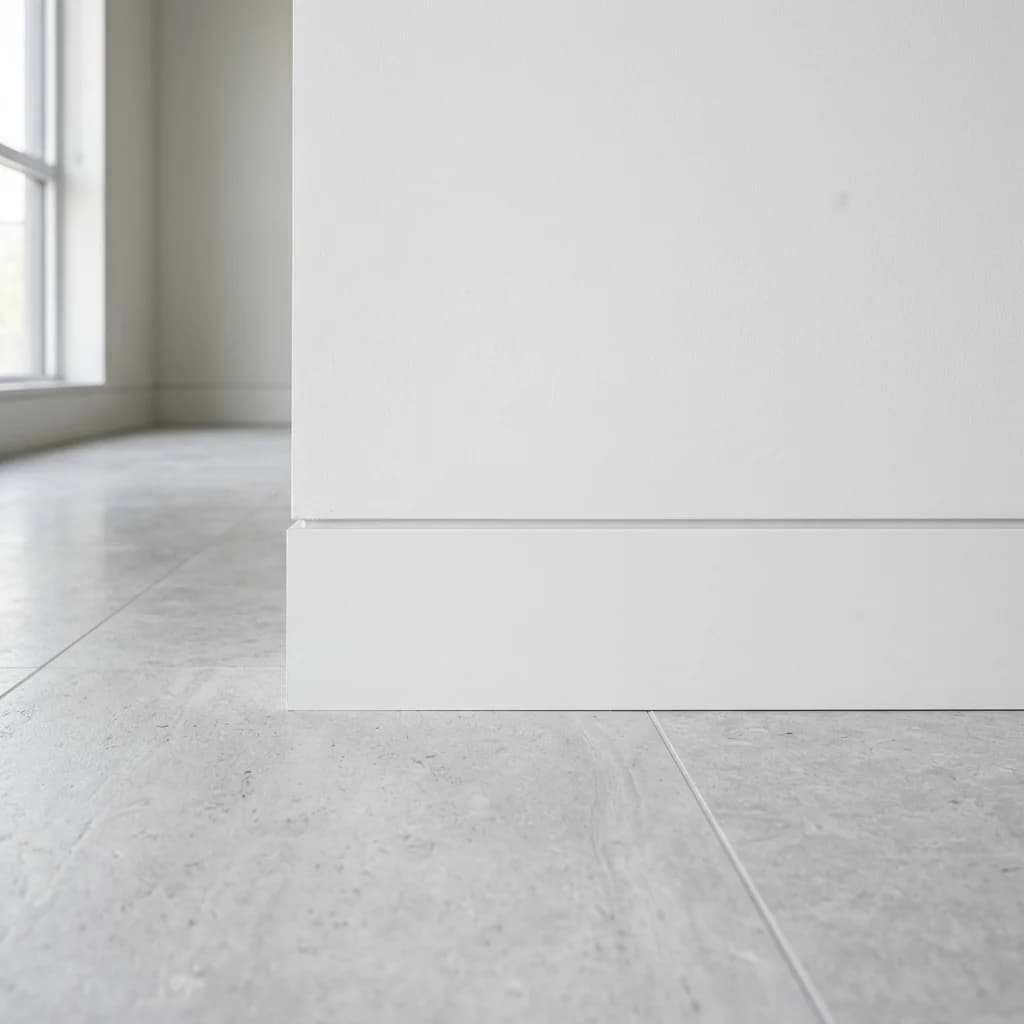
Concealed (or flush-mount) baseboards consist of an aluminum base profile installed inside the wall, topped with a decorative insert (made of MDF, wood, metal, or painted to match the wall). The result is a completely flat transition from wall to floor with zero protrusions.
Warning
A critical planning mistake: The concealed baseboard profile must be installed BEFORE plastering the walls. If your crew has already drywalled or plastered and puttied the walls, it is too late for a concealed baseboard. You would have to chase the bottom of the walls along the entire perimeter, which will increase your labor bill by 3 to 4 times.
2. Shadow Gaps: The "Hovering Wall" Effect
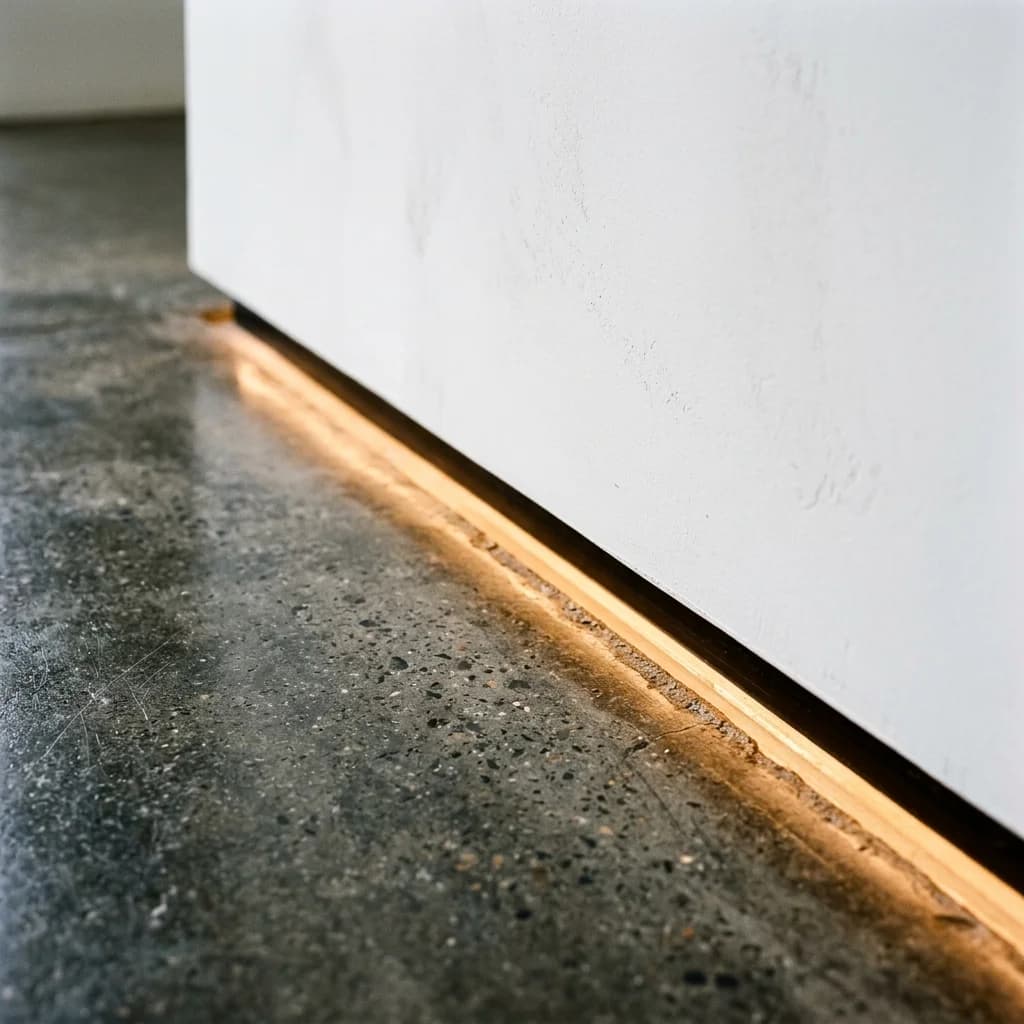
This is a variation of the concealed baseboard. The aluminum profile is designed so that the decorative insert is recessed into the wall by 15–20 mm, creating a deep shadow line. It makes the wall appear to float in mid-air. Often, an LED strip is tucked into this channel to create soft night path lighting.
According to the German standard for surface tolerances DIN 18202, vertical wall deviations must not exceed 1 mm per 2 meters for shadow gap profiles. If your walls are wavy or out of plumb, the shadow gap will act like a spotlight, highlighting every plastering mistake.
3. Micro-Baseboards: The Savior for Finished Renovations
If your renovation is already finished, the wallpaper is up, and you need to cover an 8–10 mm expansion gap cleanly without bulky traditional baseboards, the micro-baseboard (or L-profile) is your best friend.
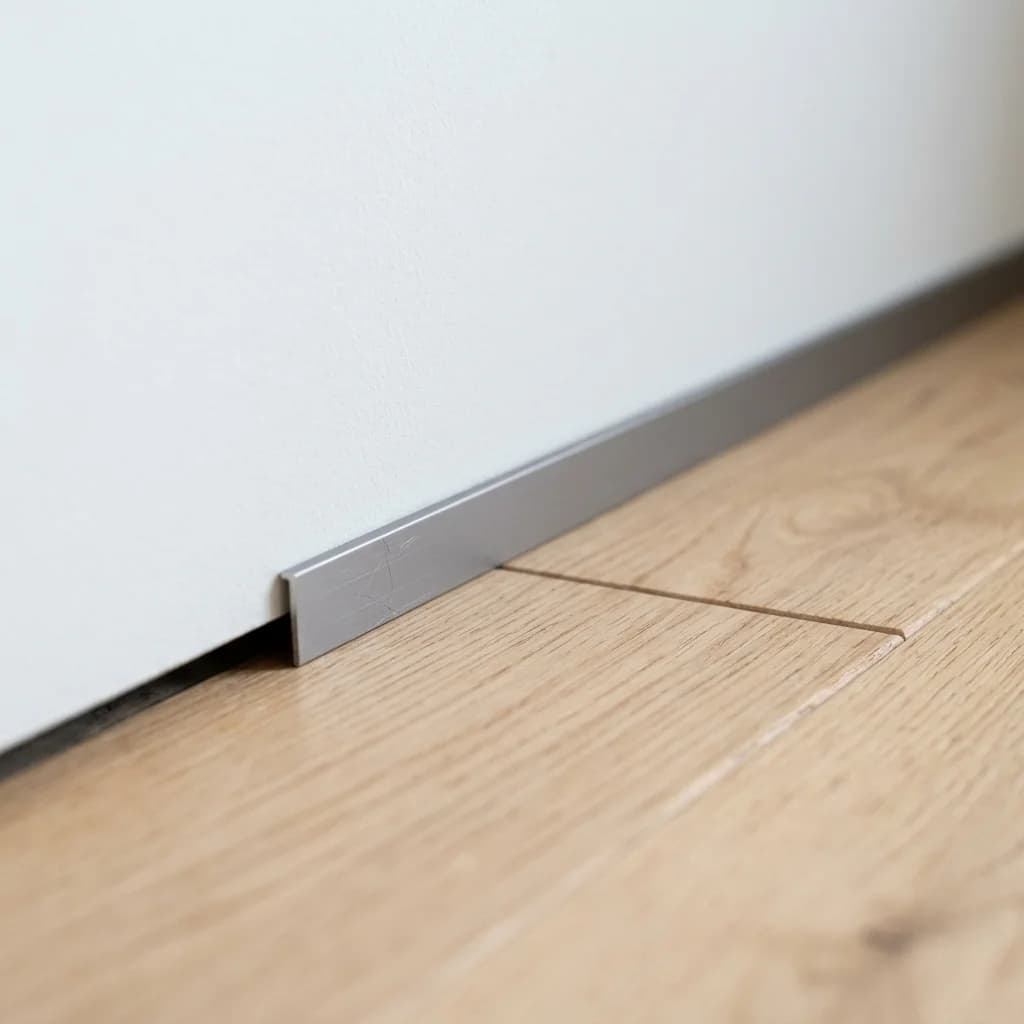
This is an ultra-thin anodized aluminum profile, only 15–16 mm wide and about 5–7 mm high. It sits directly in the gap between the floor and the wall, held in place by small spring-tension clips that grip the edge of the floor boards.
The Pros of Micro-Baseboards:
- Installs in a few hours at the very end of the project.
- Completely flat — furniture can sit flush against the wall.
- Allows the floor to expand freely (the spring clips slide along with the laminate).
Comparing Floor-to-Wall Joint Systems
Let's compare these options side-by-side:
Comparison of Baseboard and Joint Systems
| Feature | Concealed Skirting | Shadow Gap Profile | Micro-Baseboard | Classic MDF Baseboard |
|---|---|---|---|---|
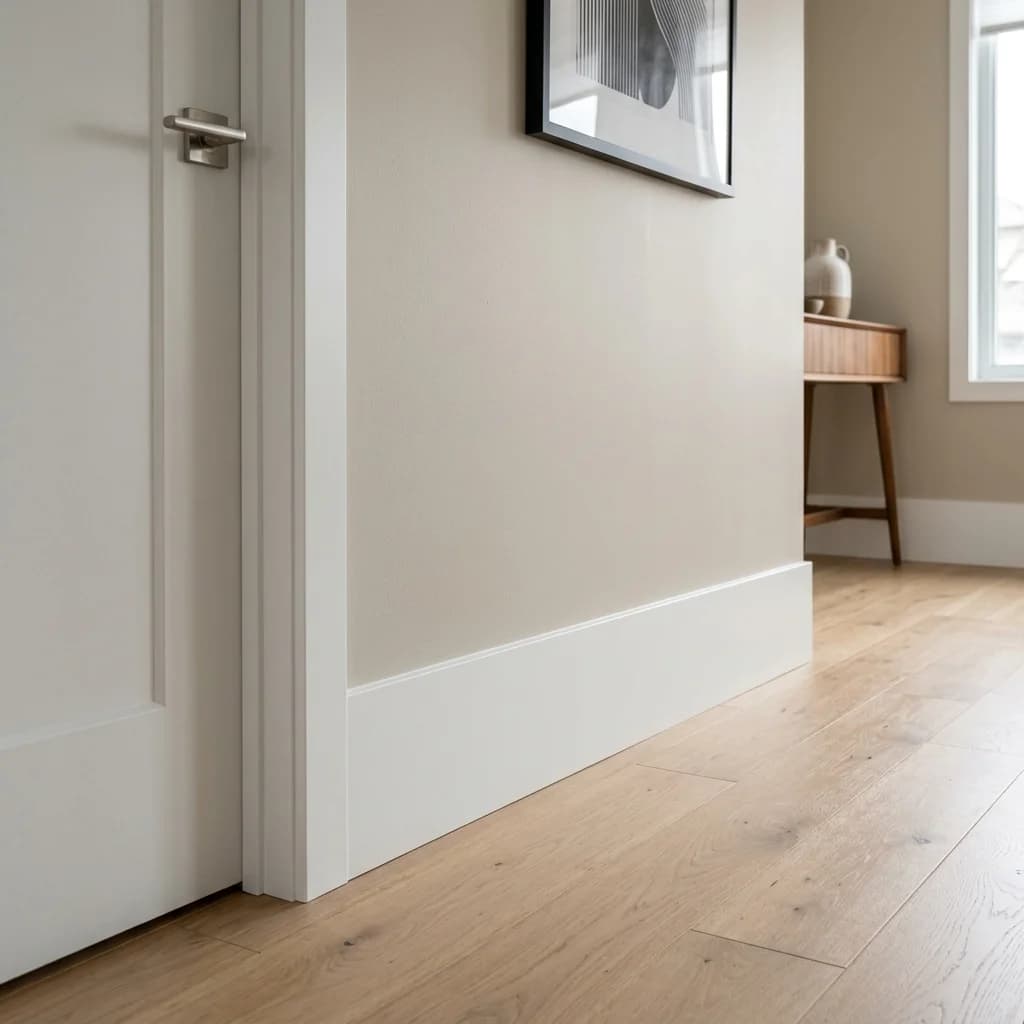
| Protrusion from wall | 0 mm (flush) | -15 mm (recessed) | 1.5 mm (ultra-thin) | 15-20 mm |
| Installation stage | Rough (before plaster) | Rough (before plaster) | Finish (after floors) | Final decoration stage |
| Wall flatness requirements | High | Perfect (Class Q4) | Medium | Minimal (hides gaps) |
| LED lighting option | Yes (some models) | Yes (ideal for LED) | No | No |
| Average material cost (per m) | $15 - $30 | $20 - $45 | $10 - $20 | $4 - $12 |
| Average labor cost (per m) | $12 - $22 | $15 - $28 | $5 - $9 | $3 - $6 |
Step-by-Step Installation: Getting the Shadow Gap Right
To prevent your construction crew from saying "we didn't know how to do this" at the end of the project, hand them this step-by-step sequence:
- Before plastering: Establish the finished floor level across the entire apartment using a laser level.
- Mount the profile: Fix the aluminum concealed profile to the bare concrete wall or stud wall using anchors and tile adhesive, strictly aligned with the laser level.
- Plaster the walls: Plasterers set their guide beads flush with the top flange of the metal profile, bringing the plaster down to meet it perfectly.
- Lay the flooring: Install the laminate or wood floor, sliding the edge under the top lip of the profile while leaving an 8–10 mm gap to the back wall (meeting EPLF requirements).
- Insert finish: Install the decorative insert (for flush skirting) or seal the shadow gap.
Quality Inspection Checklist for Handover
Before signing off on the work of your flooring and plastering crews, inspect these details with a bright flashlight.
Baseboard Quality Inspection Checklist
Interactive Baseboard Calculator
You can calculate the exact quantity of baseboard length (in linear meters) needed for your room, taking into account door openings and cutting waste:
📊 Baseboard Calculator
Baseboard Calculator
Calculate linear meters, number of baseboard pieces and cost with doorway deductions.
FAQ: Debunking Baseboard Myths
Concealed Baseboard Q&A
Summary
The transition between your floor and wall is a detail that shows the overall build quality of your renovation.
- Want perfect minimalist lines and have the budget to plan early? Choose shadow gap profiles or concealed skirting.
- Renovation already finished, walls are straight, but you hate chunky baseboards? Go for aluminum micro-baseboards.
- Budget-conscious or dealing with slightly uneven walls? Classic MDF baseboards painted to match the walls remain a reliable, stylish option.
Measure trim length before you order
Start with the main calculator, then use the two tools that most naturally follow this article.
This piece is structured as a practical sequence of work, material choices, and decisions without extra steps.