How to Calculate Floor Screed & Leveling: Thickness, Mix Volume, Bag Count, and Water
A practical guide to calculating floor leveling correctly for both US and European standards: area, average thickness, dry mix consumption, bag count, water, and realistic reserve.
How to Calculate Floor Screed & Self-Leveling Without Guessing
Floor leveling is one of those jobs where rough estimates get expensive fast. People know the room size and they know the floor needs leveling, but the material order often turns into a guess based on habit instead of a real calculation.
Whether you are pouring a thick sand-cement screed over a concrete slab (common in Europe) or spreading self-leveling underlayment (SLU) over a wood subfloor (typical in the US), the better method is to work from:
- floor area;
- average thickness;
- the manufacturer’s dry mix consumption rate;
- bag size;
- water per bag;
- a small working reserve.
That is also how our screed calculator works, so the formulas below match the actual tool.
Note
Leveling Cheat Sheet (Quick Reference)
- Standard Coverage (US): 1 bag of self-leveling underlayment (50 lbs) covers approximately 50 sq ft at a 1/8" thickness. 1 bag of pre-mixed concrete (80 lbs) covers approximately 8 sq ft at a 1" thickness.
- Standard Coverage (Europe): 1 bag of sand-cement mix (25 kg) covers approximately 1.4 m² at a 10 mm thickness.
- Water Ratio: Typically 5 to 6 quarts (4.7 to 5.7 liters) per 50 lb (22.6 kg) bag of SLU.
- Minimum Thickness: 1.2" to 1.6" (30–40 mm) for sand-cement screeds. Anything thinner requires a self-leveling compound to prevent cracking.
Comparison of Floor Leveling Options (US vs Europe)
| Feature | Self-Leveling Underlayment (US standard) | Cement-Sand Screed (EU standard) | Lightweight Mix |
|---|---|---|---|
| Base Subfloor | Wood or Concrete | Concrete Slab | Concrete Slab |
| Typical Bag Size | 50 lbs (22.6 kg) | 25 kg (55 lbs) | Varies |
| Minimum Thickness | 1/8" (3 mm) | 1.2" (30 mm) | 1.2" (30 mm) |
| Maximum Thickness | 1.5" to 2" (38–50 mm) | 3.1" (80 mm) | 6" (150 mm) |
| Drying Time before Flooring | 1–3 days | 21–28 days | 14–21 days |
What you need before you calculate
To calculate screed or leveling compound properly, you need:
- room length;
- room width;
- average layer thickness in inches or millimeters;
- mix consumption (e.g., lbs per sq ft at 1/8" OR kg per m² at 10 mm);
- bag weight;
- recommended water per bag;
- reserve percentage.
The most important value here is the consumption rate from the product you are actually buying. That should come from the bag or technical data sheet, not from memory.
Warning
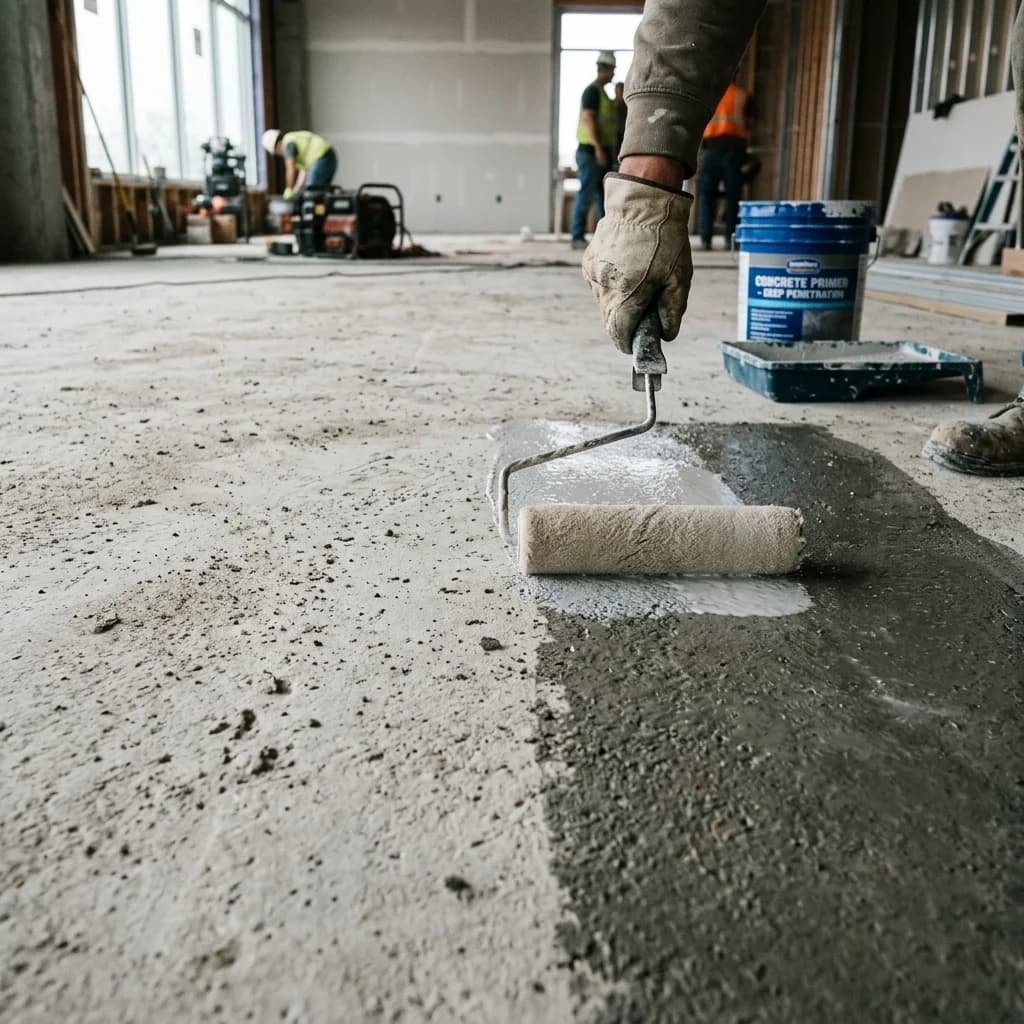
Minimum Cement Screed Thickness! Classic cement-sand screed must be at least 1.2" to 1.6" (30–40 mm) thick. If applied thinner, it won't gain enough strength and will crack or delaminate. For layers under 1.2" (30 mm), only use specialized self-leveling compounds.
Start with the area
For a rectangular room, the area is calculated as:
Area Formula:
📐 Area = Length × Width
Example:
- length: 16.4 ft (5.0 m)
- width: 11.8 ft (3.6 m)
Area:
16.4 ft × 11.8 ft = 193.5 sq ft (18 m²)
That is your base floor area.
Use average thickness, not the worst point everywhere
One of the most common mistakes is using the maximum depth across the entire room.
If one section needs 1" (25 mm) and most of the room is closer to 1/2" (12 mm), ordering the whole room at 1" will overstate the material.
For purchasing, the useful number is usually the average working thickness, based on the actual floor levels.
Tip
How to accurately find the average thickness? Use a laser level. Place it in the center of the room, measure the distance from the laser beam to the subfloor at 8–10 control points with a tape measure. Sum all measurements, divide by the number of points to find the average height. Subtract this from your target finished floor level to get your true average leveling thickness.
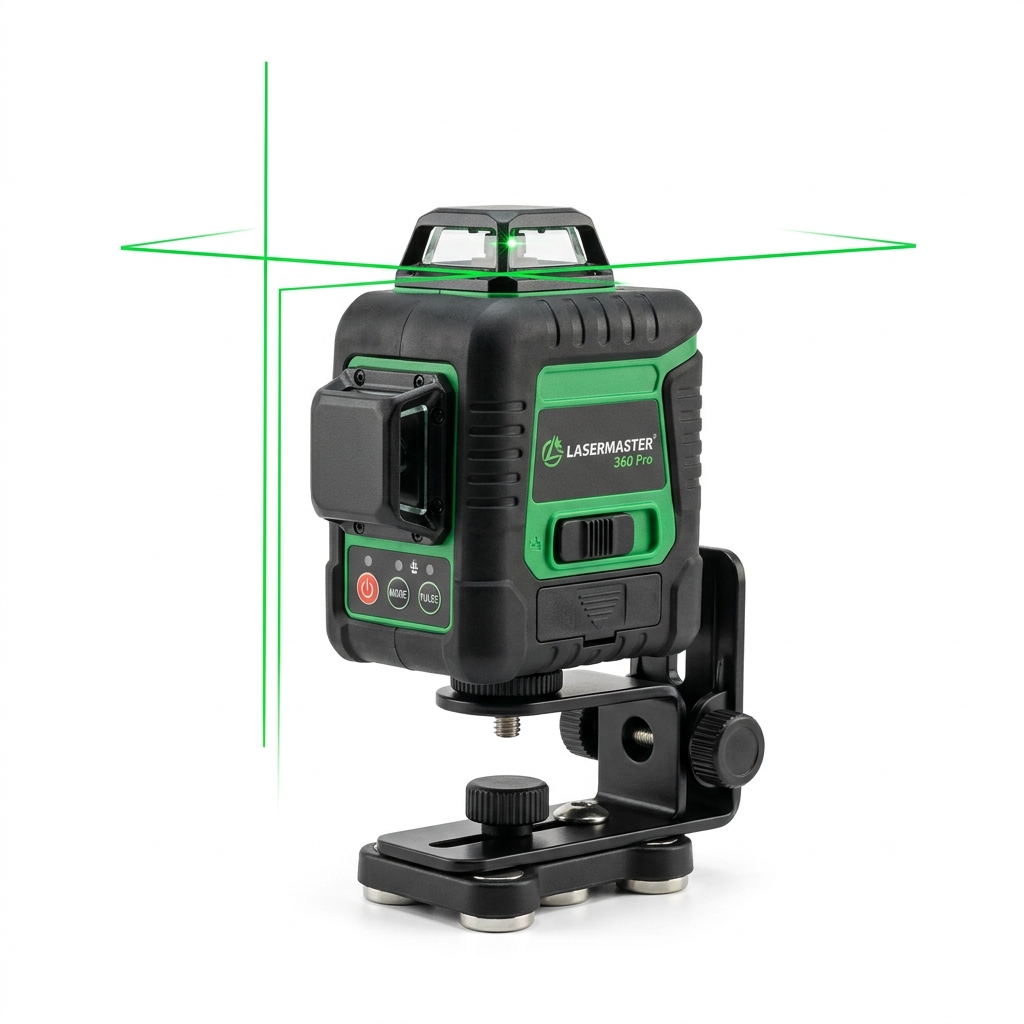
Huepar 360° Self-Leveling Green Beam Laser Level
Multi-line cross laser with high-visibility green beams. The gold standard for finding high/low spots in subfloors, calibrating screed pins, and leveling tile lines.
View on Amazon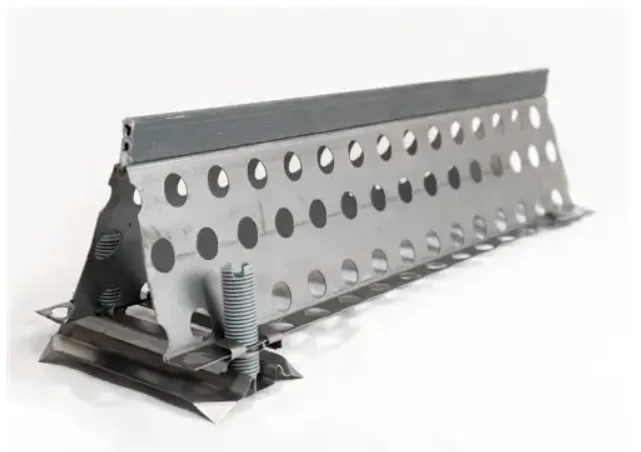
European vs US Approaches to Beacons (Guides)
In Europe (Thick Screeds):
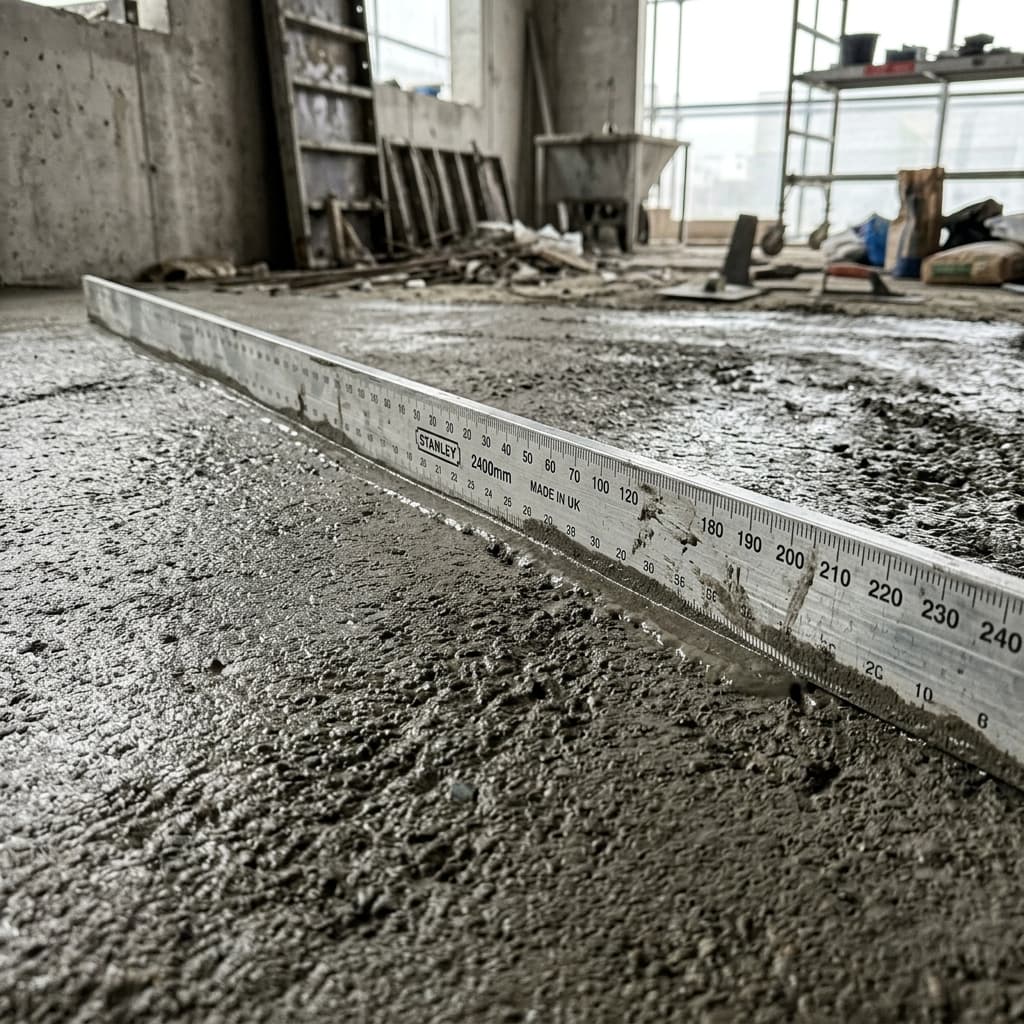
- Modern Adjustable A-Frame Beacons (Guide Rails): These are triangular, perforated metal profiles that rest on height-adjustable plastic dowel screws drilled directly into the concrete floor slab.
- Traditional T-Bar Beacons (6 mm or 10 mm): These are usually laid on "mounds" of gypsum or cement mortar. While cheap, using gypsum in a cement screed creates structural weak points.
In the US (Self-Leveling Underlayment): Instead of heavy metal guide profiles, US contractors pouring SLU rely on:
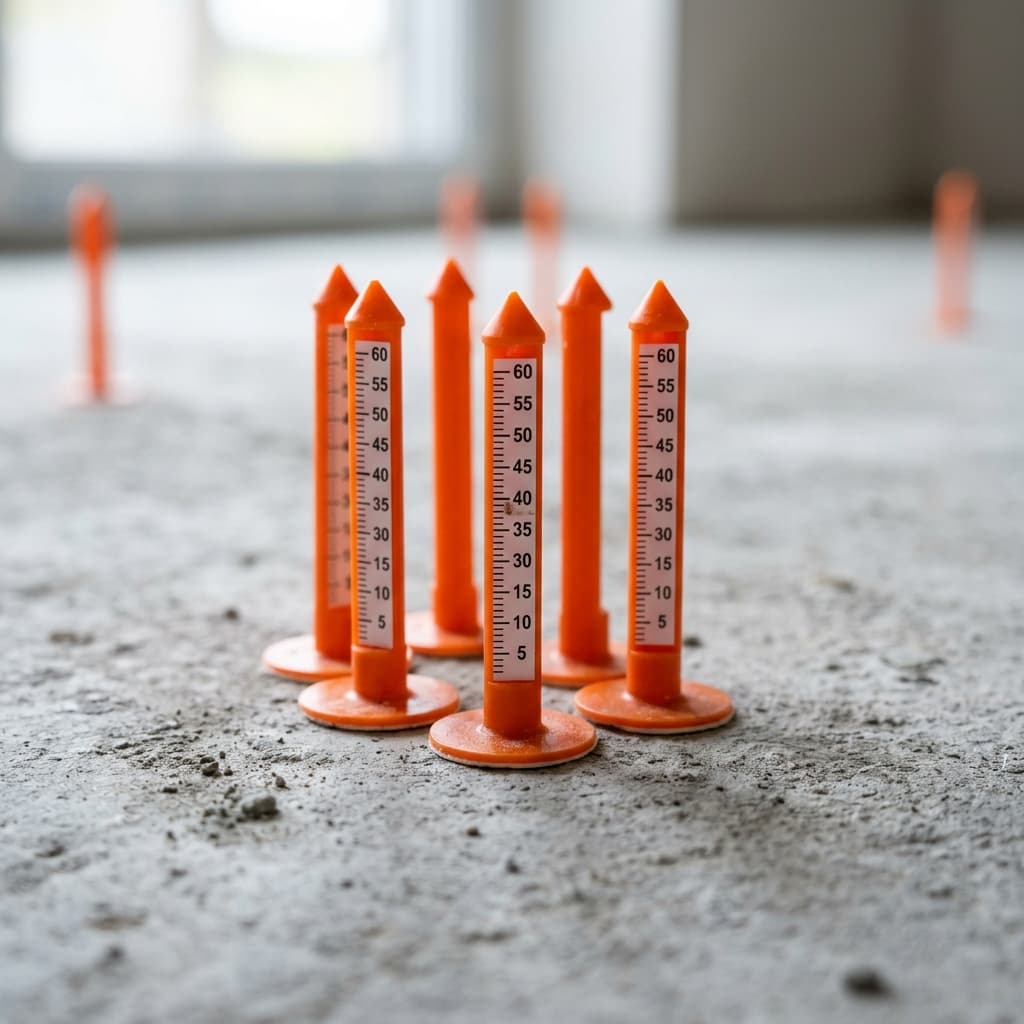
- Leveling Pins (Level Pegs): Self-adhesive plastic pegs with a printed ruler scale. They are stuck to the subfloor and cut to the exact target height using a laser level. During the pour, they serve as highly visible depth gauges.
- Gauge Rakes: A specialized rake with adjustable depth settings (pins or skids) used to distribute the wet self-leveling mixture evenly to the correct thickness.
- Screws (Tapcons): Concrete screws driven into the slab, with their heads aligned to "zero" using a laser level as a reference.
Calculate volume
The basic volume formula is:
Volume Formula:
📦 Volume = Area × Thickness
For a simple example:
- area: 193.5 sq ft (18 m²)
- thickness: 1.5" (40 mm)
Volume:
193.5 sq ft × (1.5 / 12) ft = 24.2 cubic feet (0.72 m³)
That number is useful as a reality check, but dry mix is still best ordered by weight and bag count.
Calculate dry mix the practical way
Our calculator uses a specific formula to determine total dry mix based on coverage.
Let’s use a realistic US example for Self-Leveling Underlayment:
- area: 200 sq ft (18.6 m²)
- thickness: 1/2" (12.7 mm)
- product consumption: 12 lbs per sq ft at 1" thickness
- reserve: 5%
Step-by-step:
- Base material need:
200 sq ft × 0.5" × 12 lbs = 1,200 lbs - Add 5% reserve (factor 1.05):
1,200 lbs × 1.05 = 1,260 lbs (approx. 571 kg)
So the project needs about: 1,260 lbs (571 kg) of dry mix.
Convert that into bags
If one bag of SLU weighs 50 lbs (22.6 kg), then:
Bag Count Formula:
🛍️ Bags = Total Dry Mix / Bag Weight
Substituting the values:
1,260 lbs / 50 lbs = 25.2 bags
Round up: you need 26 bags.
That final rounding step matters. Ordering for 25.2 bags is not possible; you must buy full bags.
Calculate water
Water should come from the mix recommendation, not from a generic site habit.
Water Formula:
💧 Water = Number of Bags × Water per Bag
If the product calls for 5.5 quarts (1.375 gallons / 5.2 liters) per 50 lb bag, then:
26 bags × 5.5 quarts = 143 quarts (35.75 gallons / 135.2 liters)
That gives you a realistic planning number for the full batch.
Caution
Beware of excess water! Adding extra water to make the mix easier to flow destroys the crystalline bonds. You will end up with a weak, dusty floor that cracks and disintegrates under furniture. If the mix is hard to apply, ensure you are using the correct primer and working within the pot life, rather than diluting with water.
How much reserve should you add?
A small reserve is usually sensible because:
- floor levels are not always as even as expected;
- local low spots can eat more material;
- some material loss is normal;
- real mixing and application are never perfectly theoretical.
In many cases, 5% is a reasonable starting point. If the substrate is messy or the measurements are uncertain, a slightly higher reserve (7–10%) may be safer.
Important
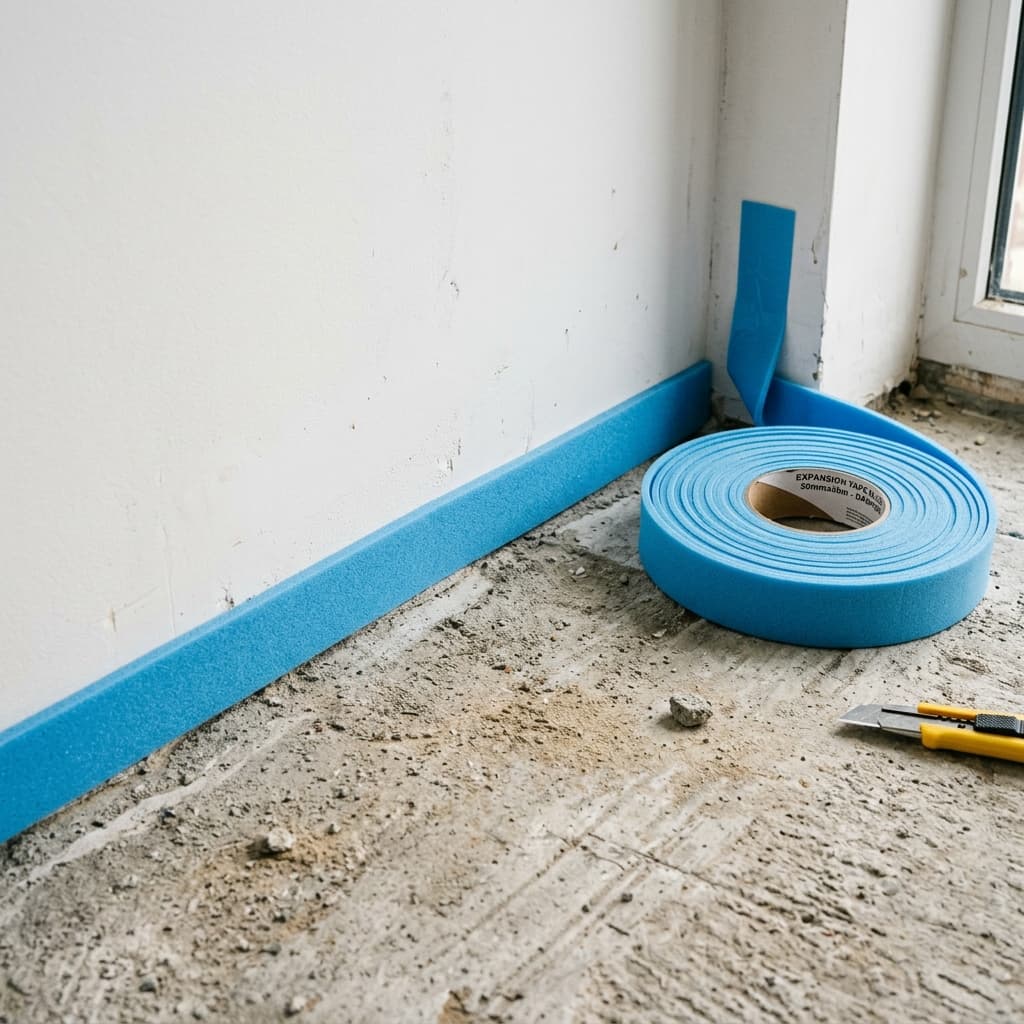
Damper Tape is Mandatory! Always install foam damper (expansion) tape along the entire perimeter of the walls before pouring the screed. It absorbs the thermal expansion of the curing screed to prevent cracking, and acts as an acoustic isolator, stopping structural floor noise (footsteps) from transferring to walls and your neighbors downstairs.
Common mistakes
1. Using maximum thickness for the whole room
That often inflates the order and leads to wasted budget and materials.
2. Ignoring the actual product consumption rate
Different mixes consume at different rates. Always read the packaging specs.
3. Forgetting reserve
The math looks clean, but you end up short by one or two bags at the very end of the pour.
4. Guessing the water
Always stick strictly to the manufacturer's recommended water ratio printed on the bag.
Leveling is only one part of the floor build-up
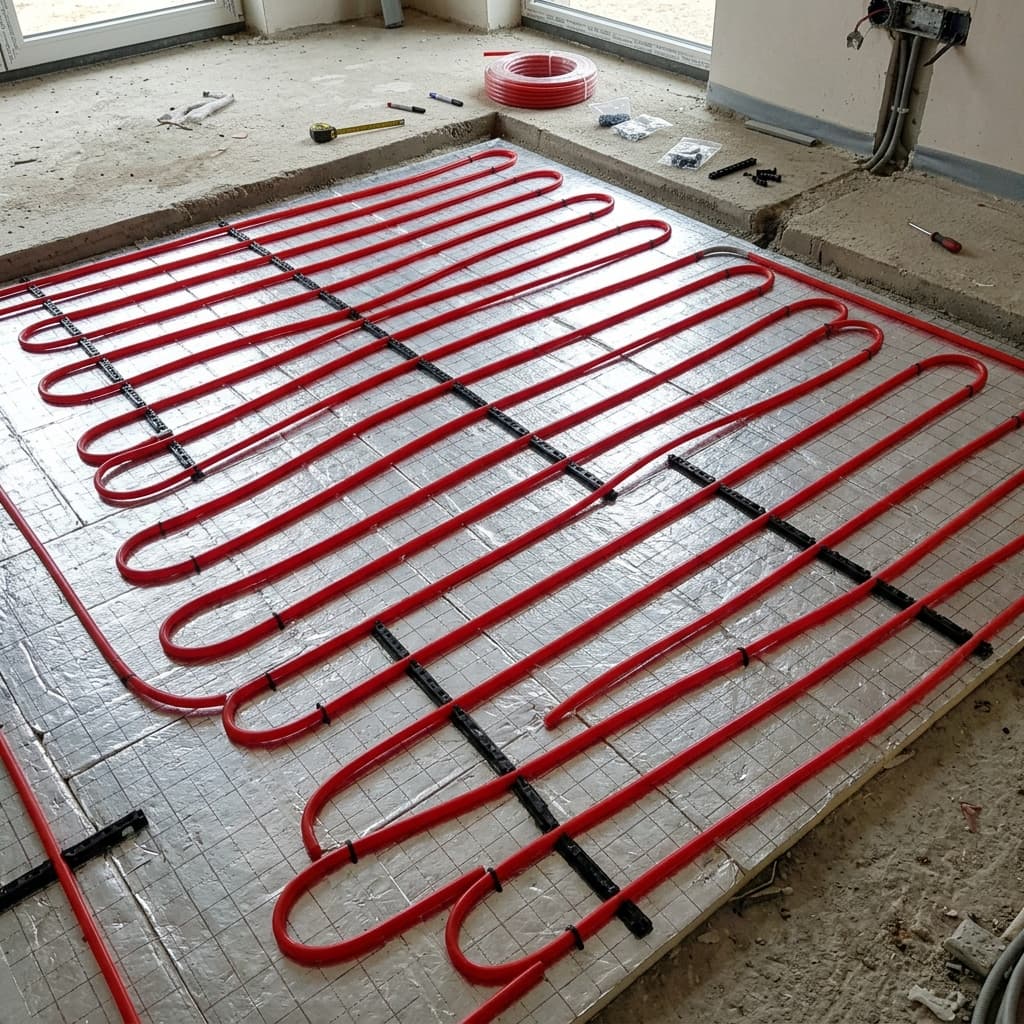
Depending on the project, the final floor system may also include:
- primer (crucial for both wood and concrete);
- a self-leveling layer or cement screed;
- underlayment (foam or cork);
- the final floor finish (LVP, tile, hardwood).
So leveling math is important, but it is not the whole floor package.
Floor Leveling Preparation Steps
Try the calculation on your own project
Use the calculator below to estimate area, screed volume, dry mix weight, bag count, water, and rough material cost. (Note: you can adjust the units inside the tool based on your local standards).
Screed Calculator
Calculate screed volume, dry mix, bag count and water for a floor leveling layer.
FAQ
Should screed be calculated by area or by volume?
For ordering dry mix, area plus average thickness and product consumption is usually the most practical route. Volume is a useful secondary check for ready-mix deliveries.
What thickness should I use for the calculation?
Use the average working thickness across the room, not just the deepest point.
Can I use a generic mix consumption value?
It is much safer to use the actual consumption rate listed for the product you plan to buy (e.g., exactly 50 lbs per 50 sq ft at 1/8").
Should water be calculated in advance?
Yes, if the manufacturer specifies quarts or liters per bag. It helps with planning your mixing station on site.
Conclusion
Floor leveling math is not complicated, but it needs the right inputs. Once you know the area, average thickness, actual product consumption, and reserve, the bag count becomes predictable instead of stressful.
That means fewer surprises on site and a much cleaner material order.
Estimate screed volume before you order
Start with the main calculator, then move into the related tools and the matching topic hub.
Screed Calculator
Estimate screed volume, dry mix bags, water, and rough material cost.
Flooring Hub
Open the flooring cluster for screed, finish floors, baseboards, and the logic of floor calculations.
Open hubFlooring Calculator
Calculate laminate, LVT, or engineered wood by packs, underlayment, and waste.
Estimate flooringBudget Planner
Build a renovation budget by category, currency, and contingency reserve.
Plan the budgetThis piece is built around dimensions, material waste, and practical calculations needed before ordering.